Node Setup
This guide walks through deploying a Primus Network Attestor Node in a TEE environment (via Phala ) and registering it onchain for production use.
Supported chains
| Chain | ChainId | Task contract address | Support |
|---|---|---|---|
| base-mainnet | 8453 | 0x151cb5eD5D10A42B607bB172B27BDF6F884b9707 | Yes |
| base-sepolia | 84532 | 0xC02234058caEaA9416506eABf6Ef3122fCA939E8 | Yes |
Deploy with TEE
Register a Phala account
If you do not already have one, create an account on the Phala Cloud registration page .
Deploy the attestor node
-
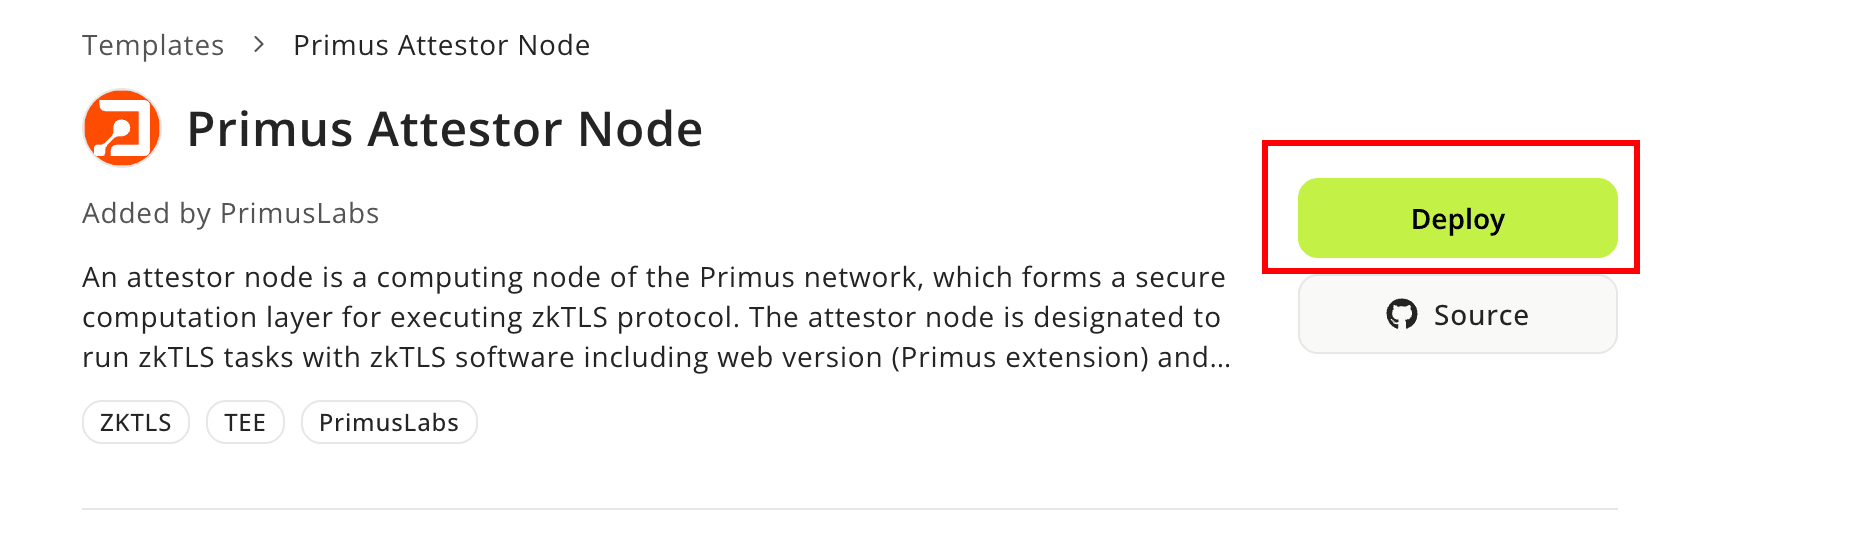
Open the deployment template and click Deploy.
-
Fill in the required fields:
- Name — A label for this node.
- docker-compose.yml — Copy the contents of docker-compose.yaml into the template field.
- KMS Provider —
Baseonly. - Node —
prod9 - Instance Type —
Large TDX Instance (4 vCPU, 8 GB) - Storage — At least
20 GB - Operating System —
dstack-0.5.4.1 - Encrypted Secrets:
PRIVATE_KEY— Must start with0x. This key owns the node, signs reports, and is used when registering the node.NETWORK_CHAINS— A single-line minified JSON array (no line breaks). Each entry needsrpcUrl,taskContractAddress, andchainId(see Supported chains).
Example (Base mainnet):
[{"rpcUrl":"https://mainnet.base.org","taskContractAddress":"0x151cb5eD5D10A42B607bB172B27BDF6F884b9707","chainId":8453}]If you edit JSON in expanded form, minify it with a tool such as JSON Minify before pasting.

-
Click Deploy to start the deployment.
-
When deployment succeeds, you should see the running services:

-
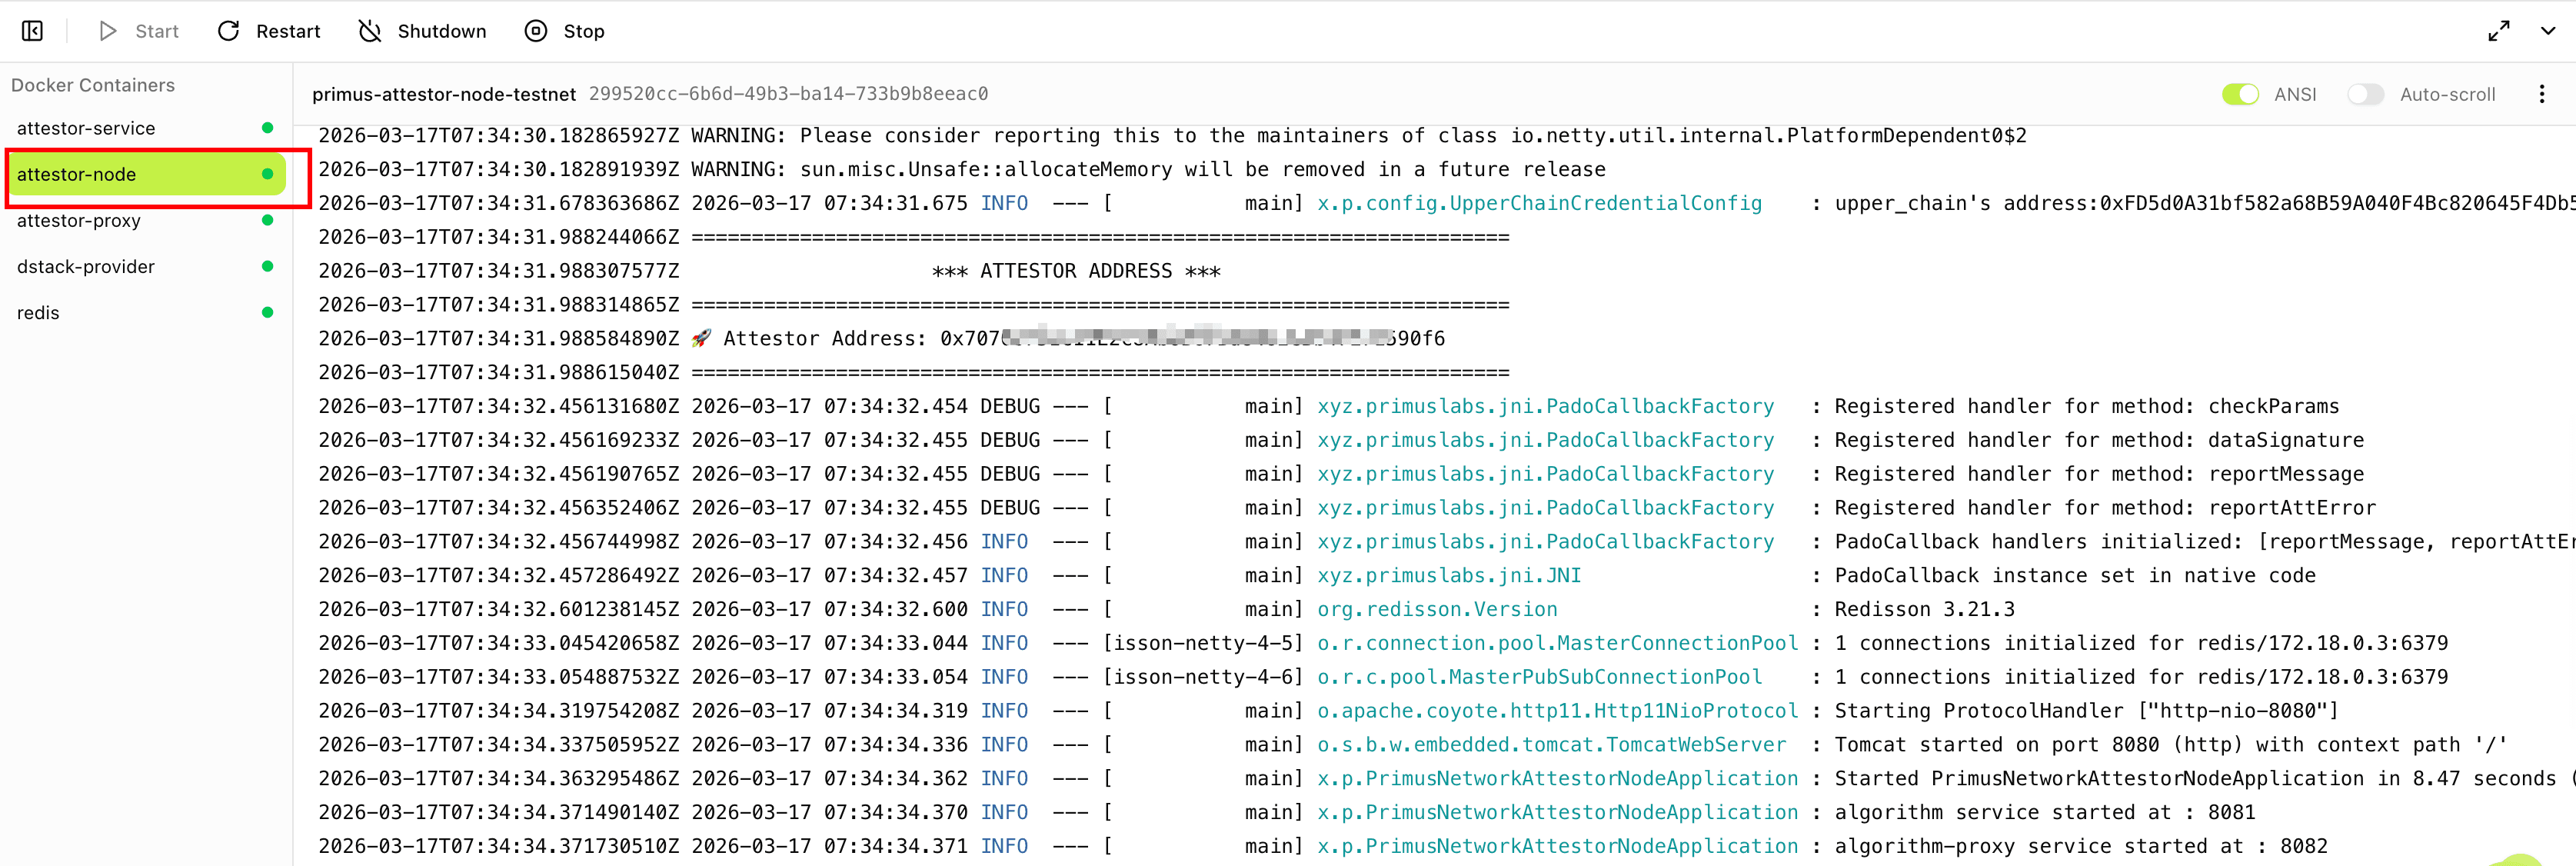
Open the attestor-node service and check the logs for the attestor address. Save this address — you will need it for registration.
-
Open the Network tab and take note your Network Information. Save the
endpointfor registration.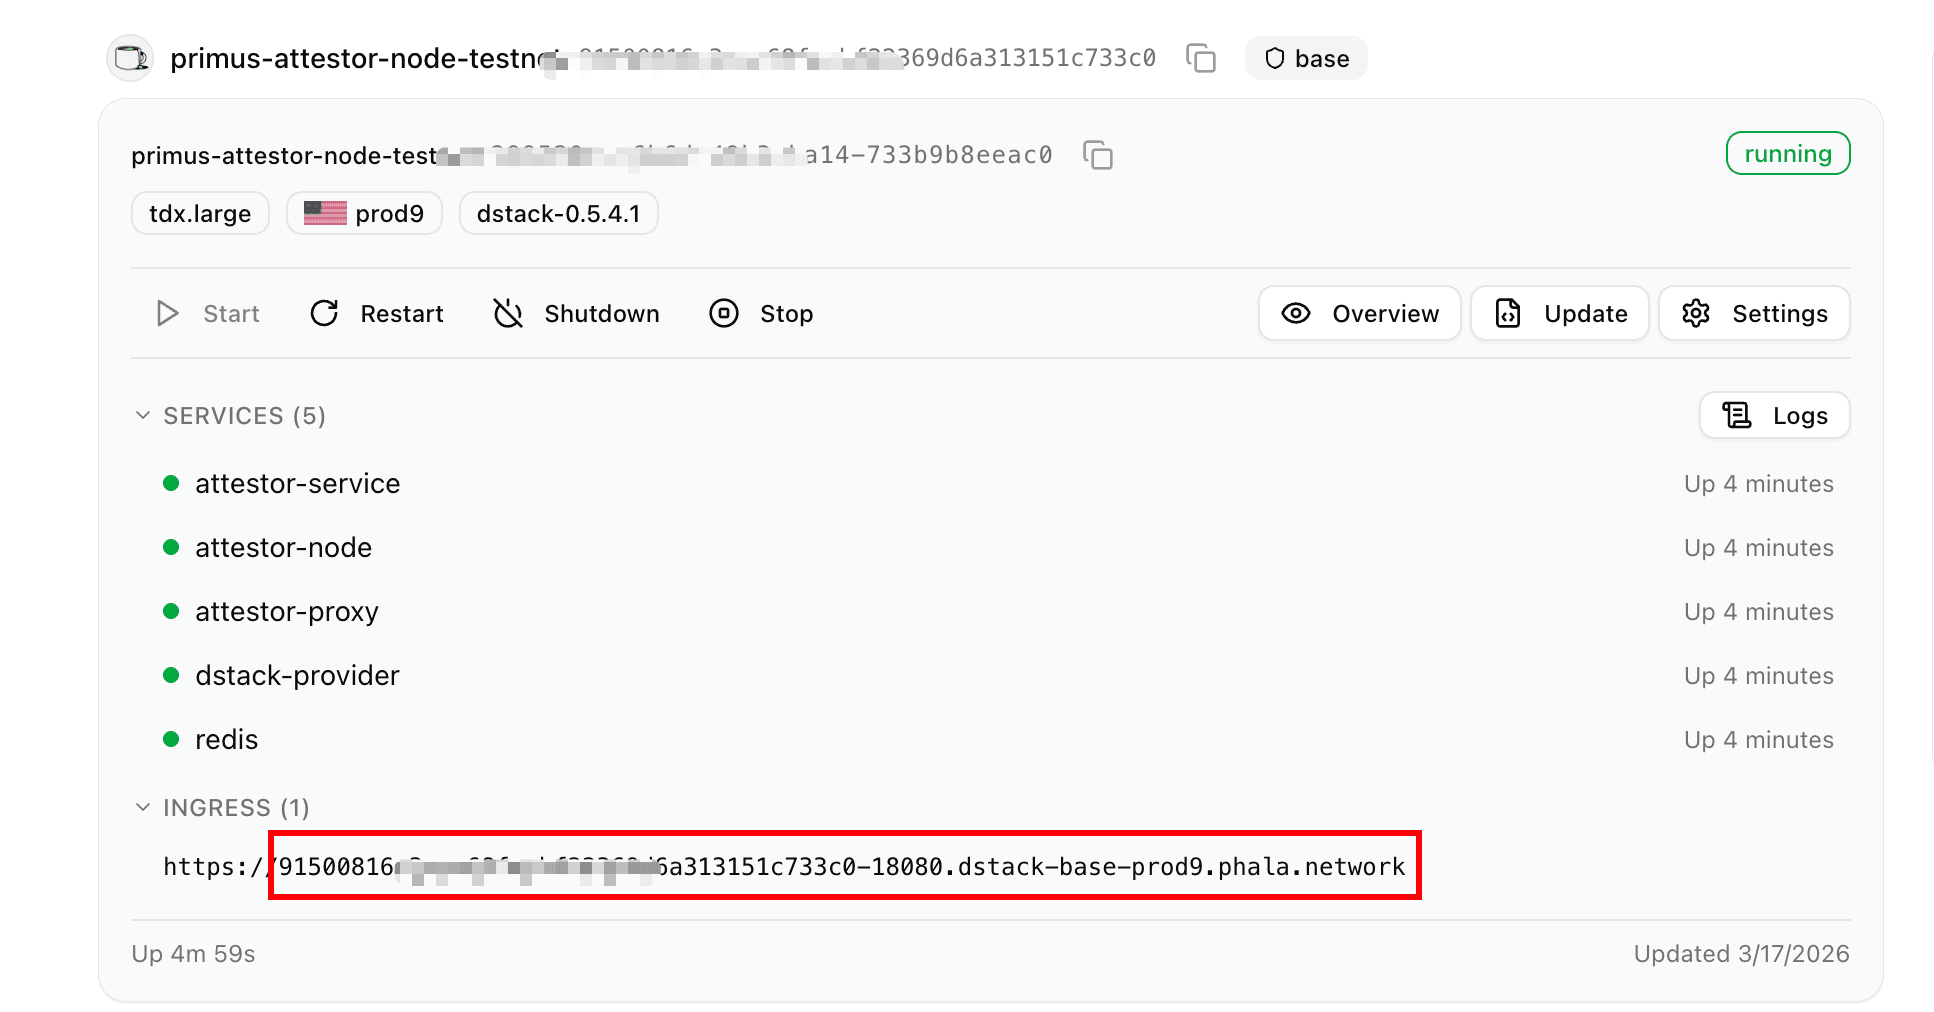
-
Paste the
endpointinto your browser. If you seeHi, PRIMUS NETWORK!, the node is running correctly.
Node management
This section covers the setup you need before the node can be registered onchain, as well as the onchain lifecycle commands after the node joins the network.
Prerequisites
- Docker installed on the machine used for registration scripts.
- 10,000 PRIM available for staking.
Clone and prepare
git clone https://github.com/primus-labs/primus-network-startup.git
cd primus-network-startup
chmod +x ./run.sh
Configure environment variables
For your target chain, edit the matching env file:
vim env_files/.env.<chain-name>Example for Base mainnet:
PRIVATE_KEY=0x
RPC=
NODE_CONTRACT_ADDRESS=0x9C1bb8197720d08dA6B9dab5704a406a24C97642
ATTESTOR_ADDRESS=
RECIPIENT_ADDRESS=
ATTESTOR_URLS=
NODE_META_URL=

STAKE_MANAGER_ADDRESS=| Variable | Description |
|---|---|
| PRIVATE_KEY | Same key as used in TEE deployment. We recommend funding it with ~0.01 ETH on Base for gas. It may also be used as RECIPIENT_ADDRESS to receive task fees automatically. |
| RPC | RPC endpoint for the chain. |
| NODE_CONTRACT_ADDRESS | Node contract address (defaults in env_files/.env.base-mainnet are usually fine). |
| ATTESTOR_ADDRESS | Attestor address from the attestor-node logs. |
| RECIPIENT_ADDRESS | Address that receives task fees (often the same as the owner of PRIVATE_KEY). |
| ATTESTOR_URLS | Attestor hostname from the Network tab endpoint, without https:// (comma-separated if multiple). |
| NODE_META_URL | Public URL of node metadata JSON (see below). Must be reachable on the public internet. |
| STAKE_MANAGER_ADDRESS | Stake contract address (use the default from the env template). |
NODE_META_URL should serve JSON like:
{
  "name": "Your node name",
  "description": "Introduce your node",
  "website": "Your website URL",
  "x": "https://x.com/<your_x_username>",
  "logo": ""
}
On-chain commands
This section covers the onchain operations you may need after preparing the node. It includes the initial registration flow and the later exit and cleanup flow.
After configuration, use run.sh with the chain name so it loads env_files/.env.<chain-name> (for example base-mainnet).
Register and stake
Use this for a new node when you want to register it and stake the minimum required amount in one step. The owner wallet needs at least 10,000 PRIM.
sudo ./run.sh registerAndStake base-mainnetAfter registerAndStake succeeds, the node is registered and has joined the network.
If you later want to exit the network, run these two steps in order:
Request exit
Use this to mark the node as exiting and unstake the active stake from StakeManager.
sudo ./run.sh requestExit base-mainnetAfter a successful exit request, wait for the chain’s unstakeCooldown period before withdrawing.
Withdraw stake and unregister
Use this only after unstakeCooldown has passed. This withdraws the unlocking stake and unregisters the node.
sudo ./run.sh withdrawNodeStakeAndUnregister base-mainnet